Event certificates recognize attendee participation and can be generated and sent directly via email through the HOST platform. Follow the steps below to create, customize, and send certificates to your event attendees from the HOST Admin Panel.

Interactive Guide
Or check the step-by-step guide
1: Access the HOST admin Panel and go to Outreach> Certificates
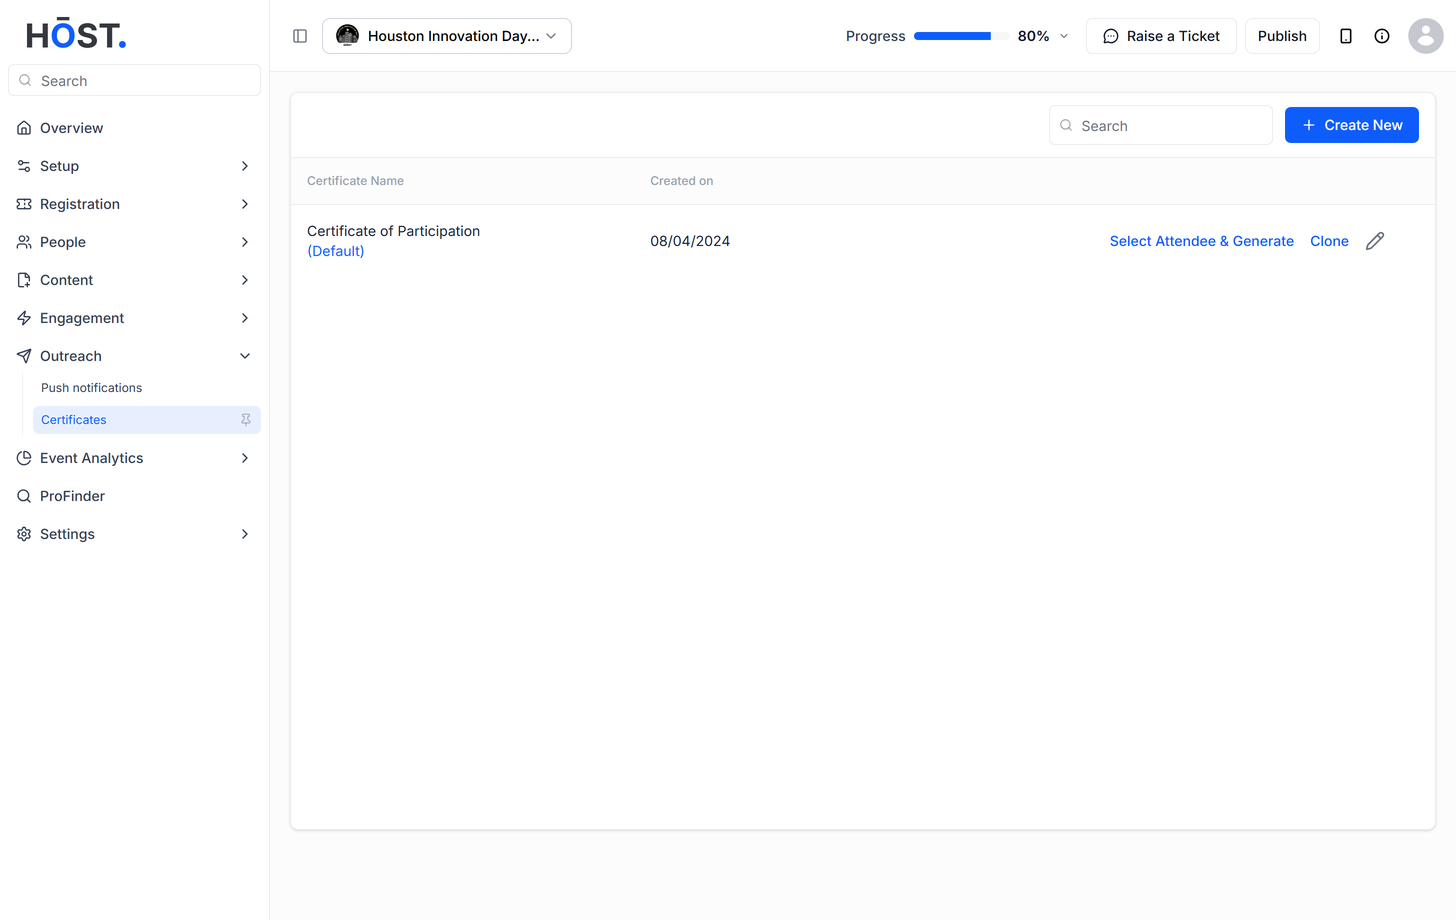
2: Click the “Create New” button to create a new Certificate
3: Enter the certificate name here
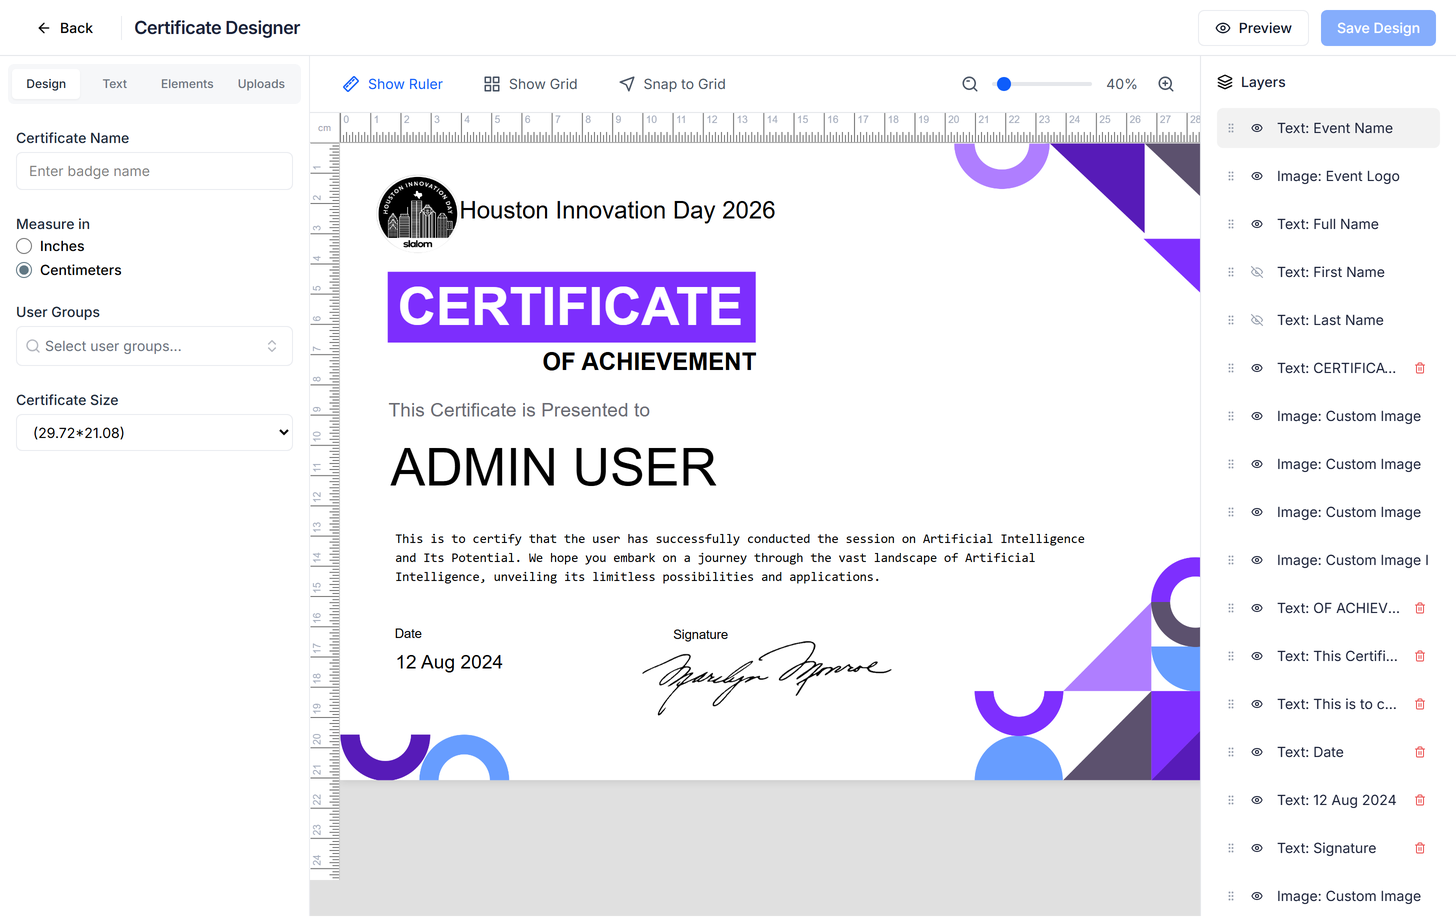
4: You can select user group if required
5: Choose whether you want the measurement in centimetre or inch
6: Select the certificate size (or set a custom size)
7: Add or hide certificate elements from the Layers panel
8: Open the Text tab and click "Add Text" to add a new text element (use Elements / Uploads for shapes and images)
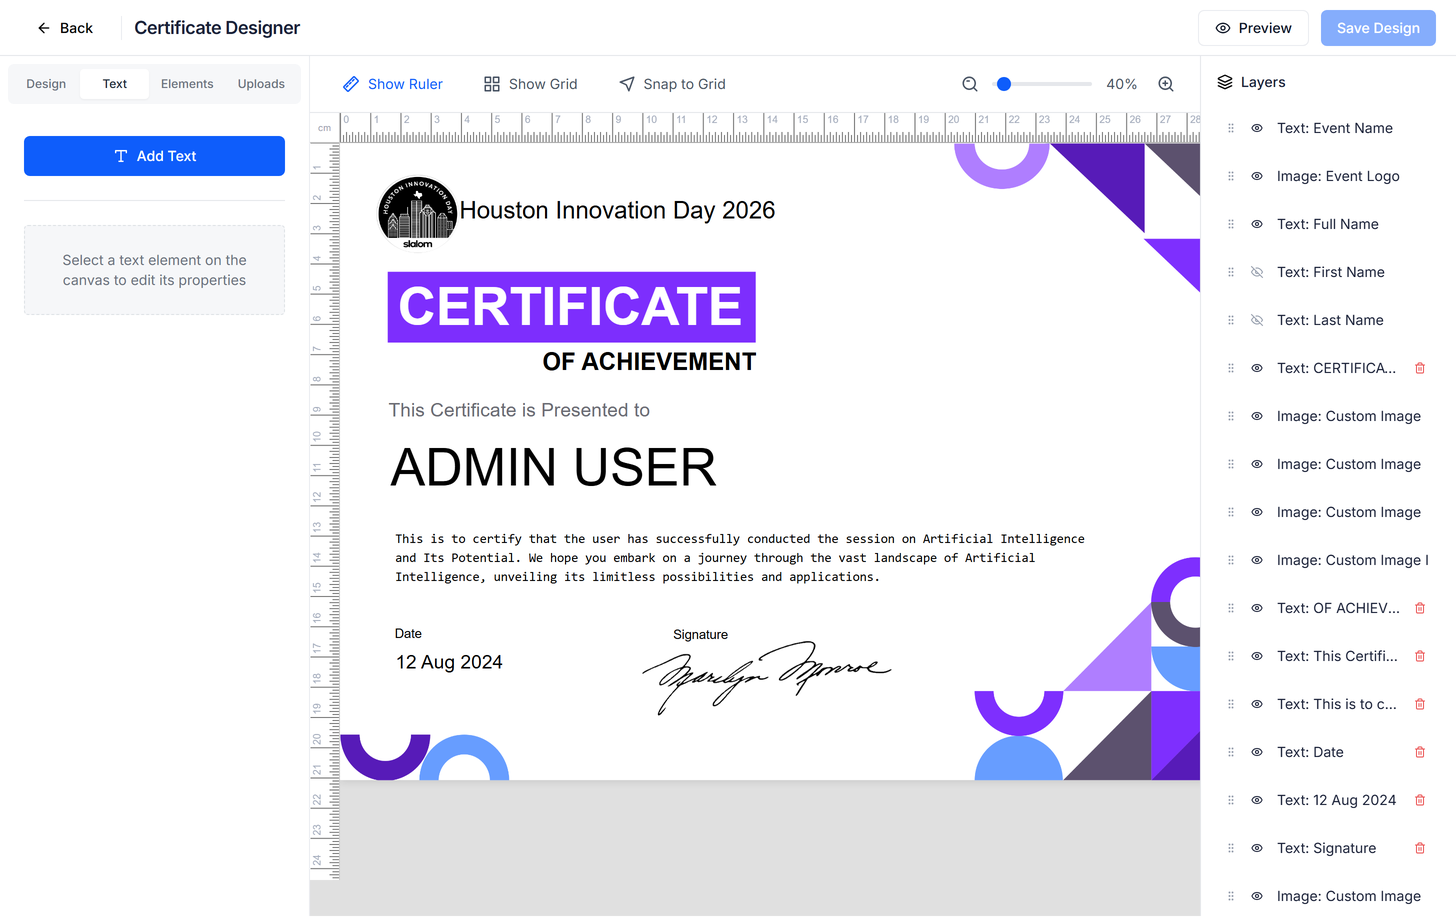
9: Click the eye icon beside a layer to hide that element
10: Use the Uploads tab to add, reupload, or remove custom images
11: Select any layer to edit that existing element
12: Click "Save Design" to save the certificate
13: Click "Select Attendee & Generate" to choose attendees and generate/send the certificate
14: You can select the user category whom you want to send the certificate
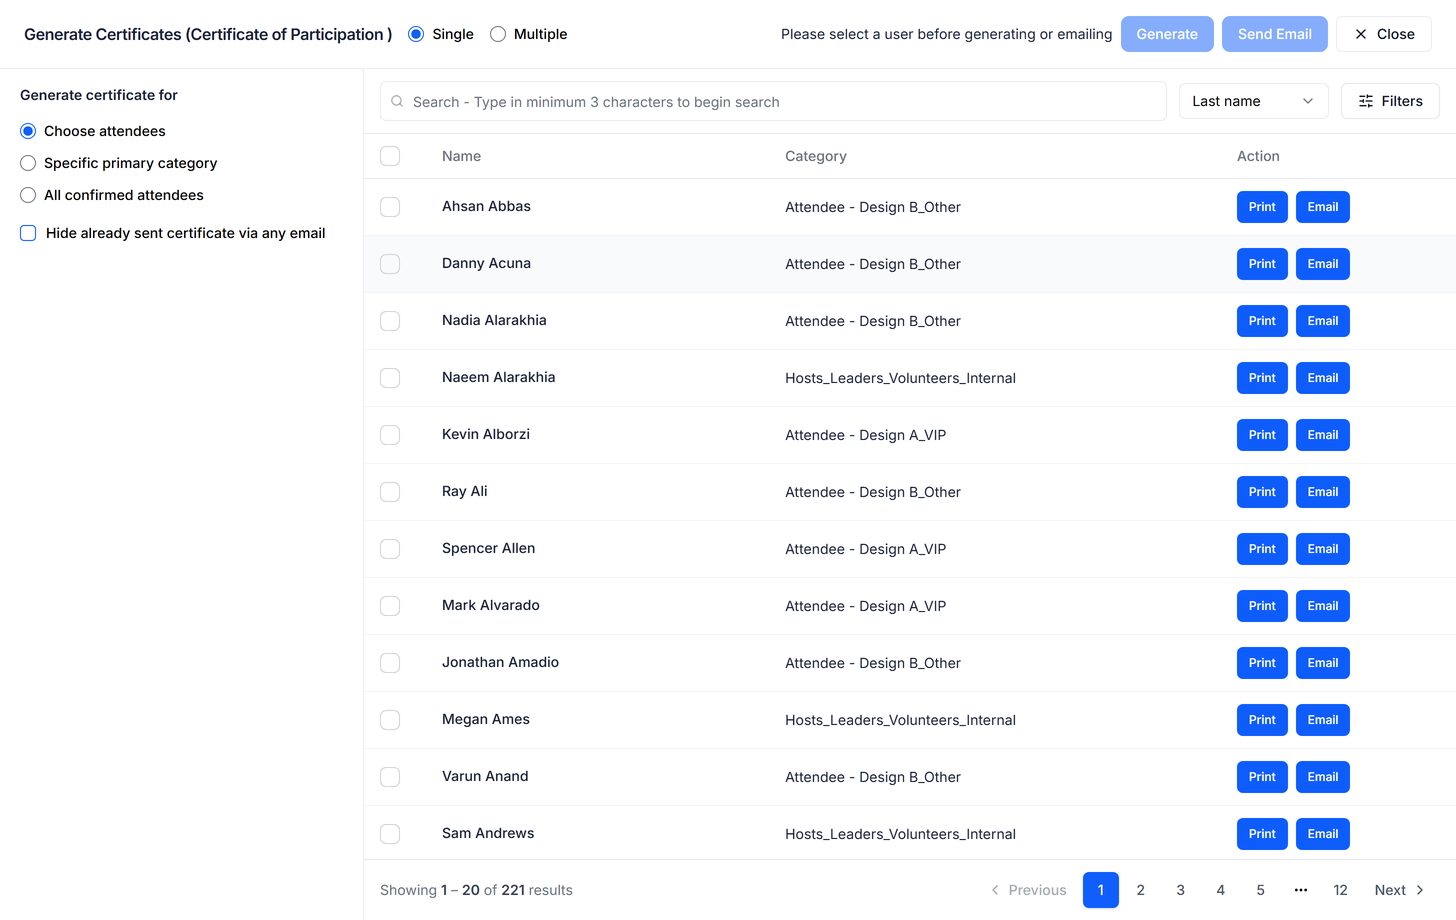
15: Select the users whom you want to send the certificate
16: Click this button to generate certificates for the selected candidates in one go
17: Click this button to send certificates to the selected users via email in one go
18: Click the “Print” button corresponding to each user to print the certificate of that user
19: Click the “Email” button corresponding to each user to send the certificate to that particular user
